参考文章:
持续集成是什么?
gitlab push代码通过webhooks自动触发jenkins构建设置
CI(Continuous integration) 持续化集成,持续集成是什么?请参考文章持续集成是什么?
就是定时将代码提交然后走一系列验证最终保证代码健壮的思路
以使用cocoapod管理的iOS库来说,一个iOS库从提交代码到验证的流程有一下几步:
pod lib lint验证podspec文件unit_testui_test跑单元测试package打包frameworkpublish发布升级版本
现在我们以上为例简单介绍两种iOS自动化ci配置流程之所以说两种只是依托平台不同
- 基于
gitlab - 基于
jenkins
一、基于gitlab搭建CI
从gitlab 8.0开始,就已经集成ci了,整体的工作流程如下:

- 当
git commit之后首先会判断当前项目是否开启CI - 开启后会检查本地是否有
.gitlab-ci.yml文件 - 读取
.gitlab-ci.yml文件的配置核对触发条件 - 触发条件正确会调用配置的
ci-runner按照.gitlab-ci.yml配置执行相应的task
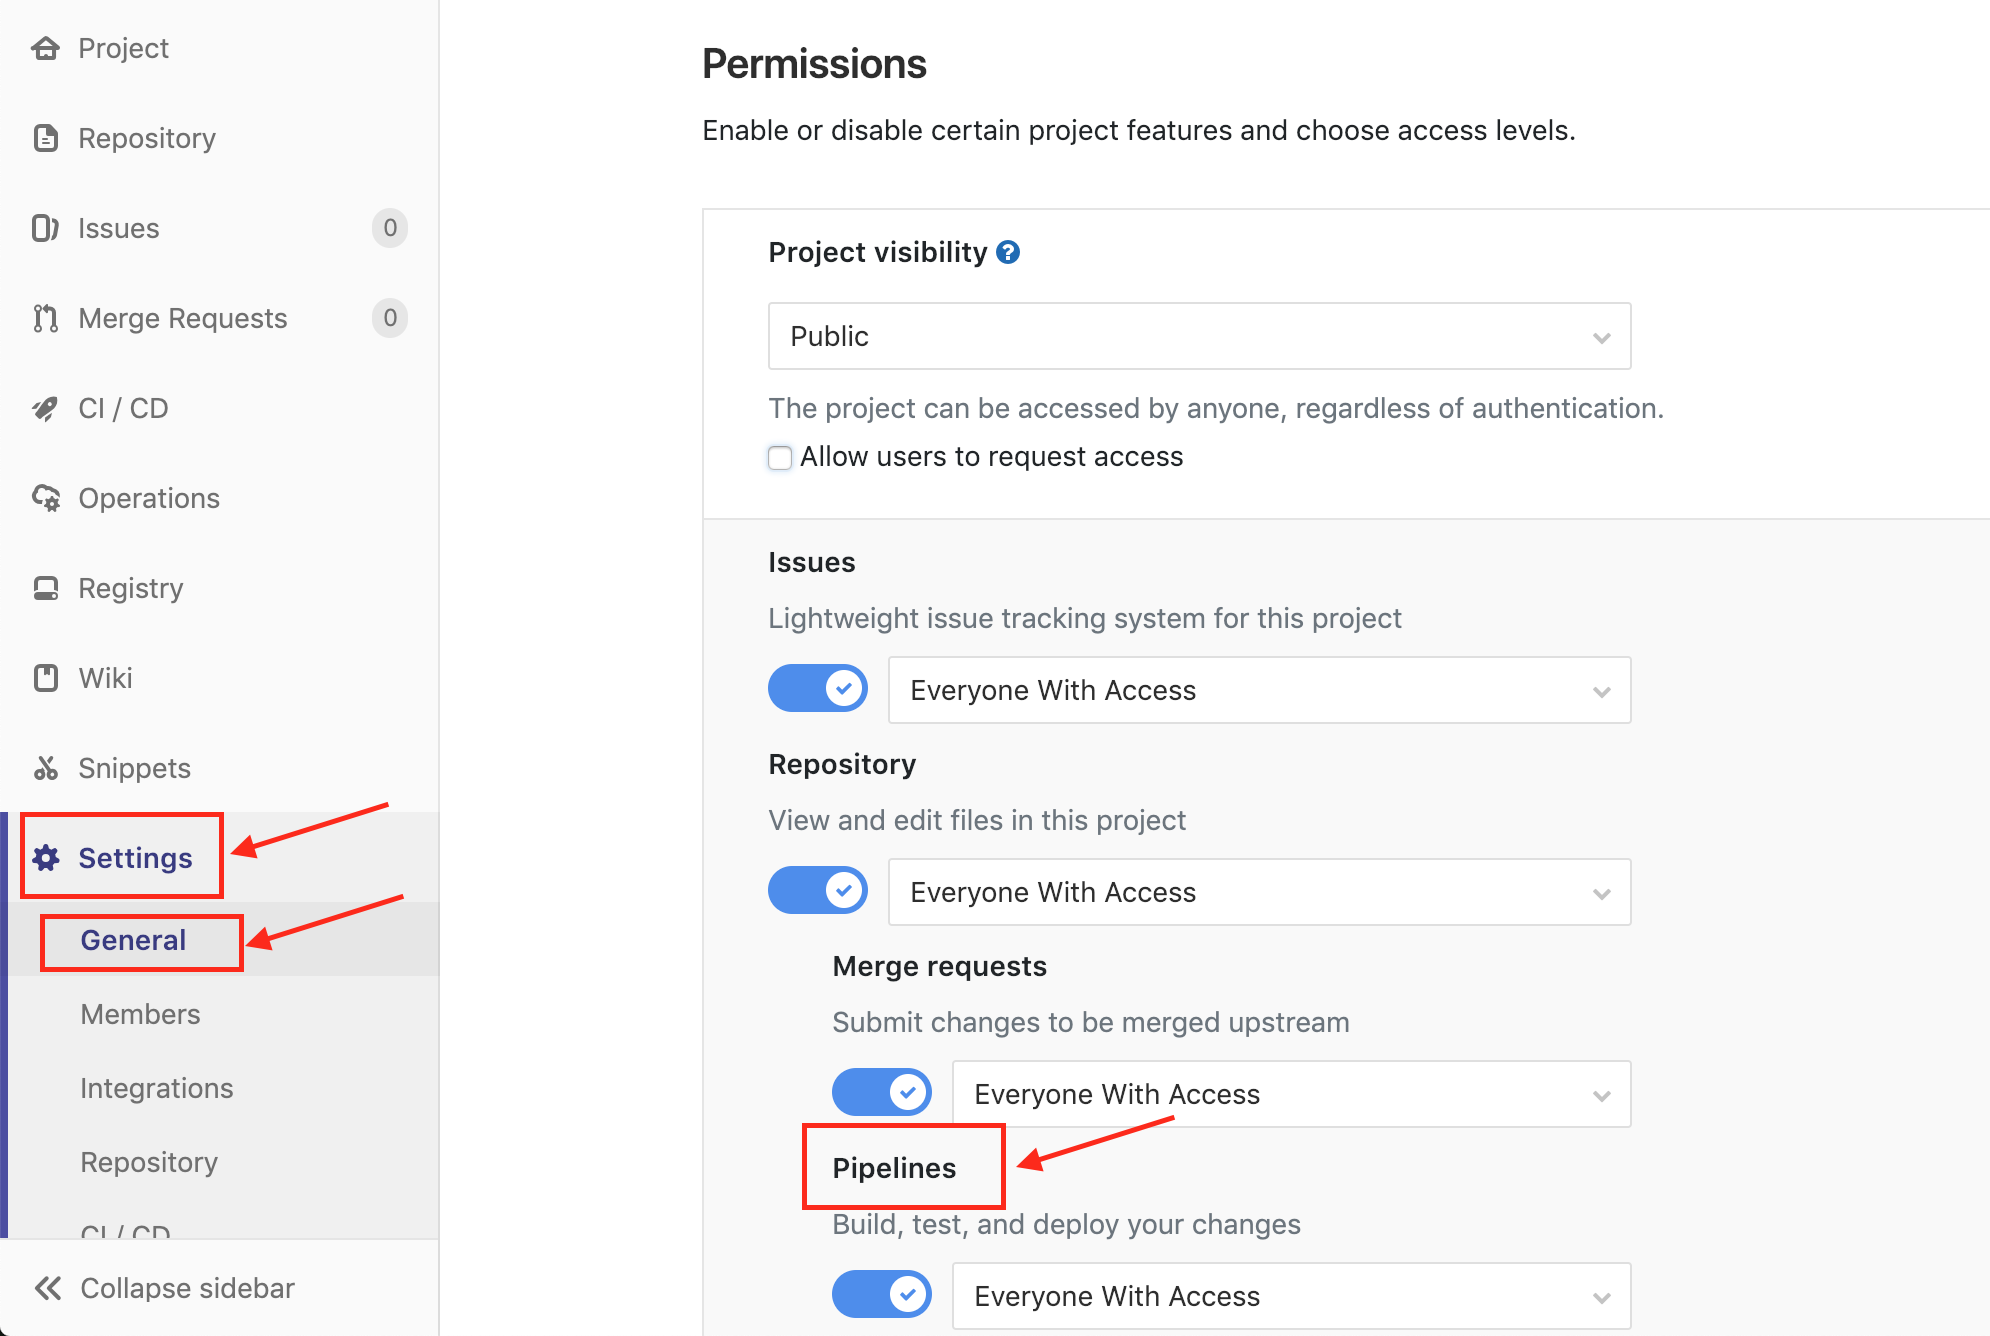
开启CI
Setting->General->Permissions->Pipelines

编辑gitlab-ci.yml
gitlab-runner通过gitlab-ci.yml文件管理工程任务。配置文档
简单介绍下几个关键字:
- script执行的
shell脚本 before_script and after_script
before_script声明的配置会在所有job执行之前after_script声明的配置会在所有job执行之后
stages定义了整个工程的不同阶段
- 每一个
job都会有对应的stage - 相同
stage的job是并行的
- 每一个
only and except是描述限制任务执行的规则,也就是触发条件,两者可以同时存在,支持正则Ruby regexp syntax).
tags推送tag触发branchs指定分支触发
tags指定对应的
ci-runnerwhen指定当前
job的触发时机
下面是项目中的配置:
|
|
配置CI-Runner参考文档
- 安装
ci-runner
|
|
- 注册
runner

|
|
- 安装启动
|
|
启动完成会在gitlab页面看到当前活跃的runner

到现在基本简单流程已经配置完毕,最核心的还是gitlabci.yml的脚本实现,最终的执行效果可以在gitlab上看到
二、基于jenkins搭建CI
对于jenkins来说CI执行的流程步骤由Jenkinsfile控制,Jenkinsfile支持两种语法声明式 (在流水线 2.5引入)和脚本化流水线,详细看这里
这里只是简单介绍构建pipeline流程,具体实现根据需求自行处理
创建pipeline有三种方式,这里介绍第三种:手动编写一个 Jenkinsfile 文件, 然后提交到项目的源代码控制仓库中jenkins安装好新建任务选择pipeline任务

先看pipeline选项看我们选择Pipeline script from SCM

配置完成之后只需要在项目创建Jenkinsfile就好了,下面简单介绍下pipeline语法,编写基础的Jenkinsfile
声明式流水线:所有有效的声明式流水线必须包含在一个 pipeline 块中
|
|
列举常用支持的字段:
| key | value | desc |
|---|---|---|
| agent | any | 任何可用节点 |
| none | 当在 pipeline 块的顶部没有全局代理, 该参数将会被分配到整个流水线的运行中并且每个 stage部分都需要包含他自己的agent 部分 |
|
| label | 指定标签的节点执行(mac安装jenkins文章里添加的多节点对应的标签) |
|
| post | always | 任何时候都允许在 post 部分运行该步骤 |
| changed | 当前运行状态与之前不同时允许在 post 部分运行该步骤 | |
| failure | 失败时允许在 post 部分运行该步骤 | |
| success | 成功时允许在 post 部分运行该步骤 | |
| unstable | unstable 时允许在 post 部分运行该步骤 | |
| aborted | aborted 时允许在 post 部分运行该步骤 | |
| stages | 包含一系列一个或多个 stage 指令 | |
| stage | stage 指令在 stages 部分进行,应该包含一个 实际上, 流水巷所做的所有实际工作都将封装进一个或多个stage 指令中 |
|
| steps | steps 部分在给定的stage 指令中执行的定义了一系列的一个或多个steps。 |
下面看简单的jenkinsfile:
其中调用shell脚本的方法sh 'shell语句'
配置完jenkinsfile之后便可以构建了
我们可以通过git 服务器提供的webhook来实现自动触发:


目前我们使用gitlab来做CI,jenkins用来打包使用,具体jenkins的配置可以详细参照jenkins用户手册